iPhone 3gs Power I.C. replacement (Process How To...)
iPhone 3gs Power I.C. replacement (Process How To...)
Case:
iPhone 3gs fast drained batt and getting hot if it charge...
Cause:
Mainboard shorted
Solution:
Change Power Management IC...
Here's the way how to replace IC:
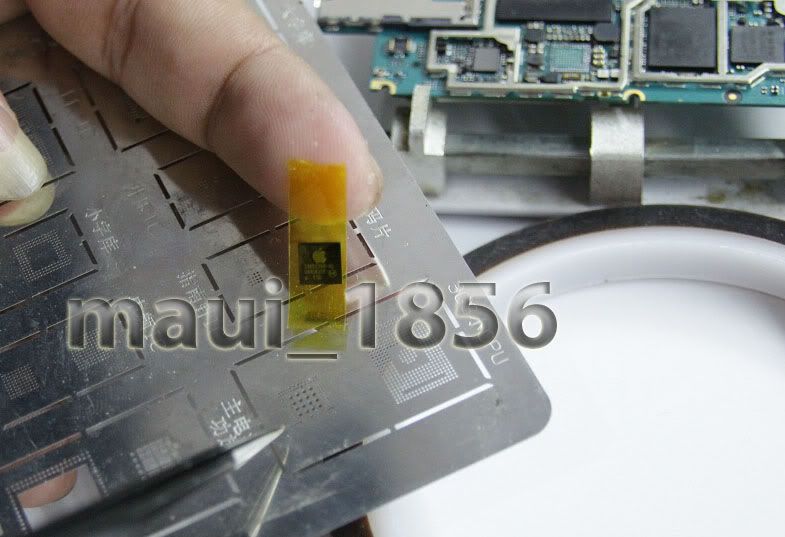
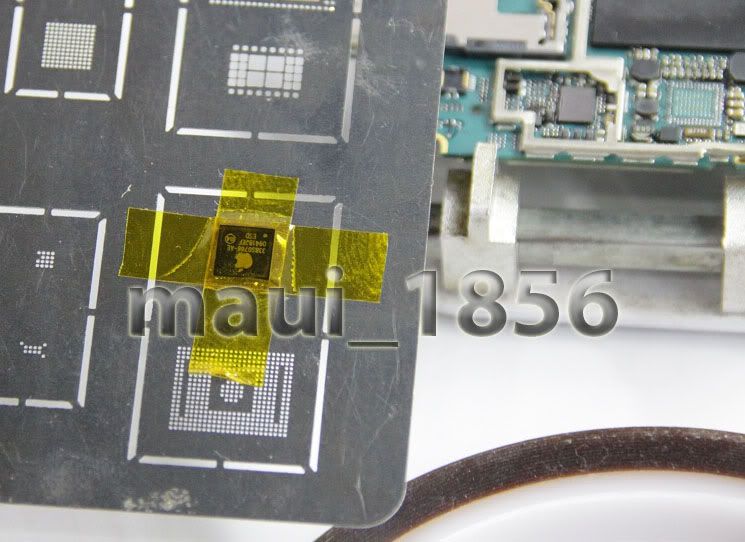
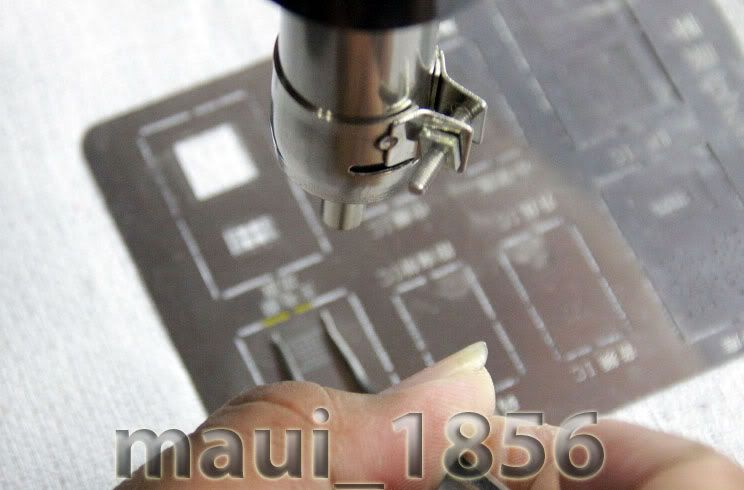
Preparing for reballing leads... I'm using heat resistant tape way of resoldering...
Mounting on solder plate...
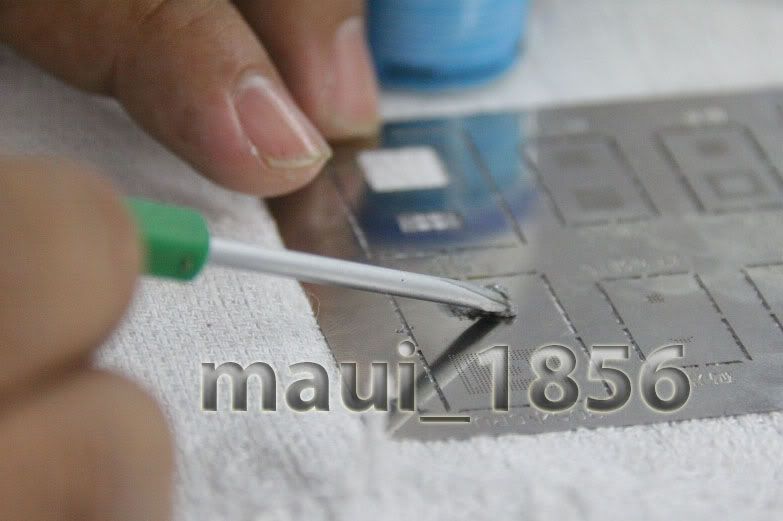
Put solder paste (lead)...
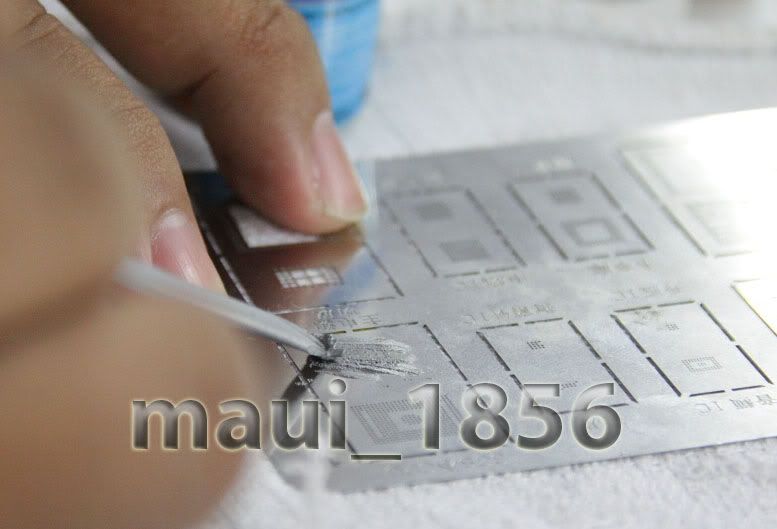
Make sure lead paste must evenly distributed to holes...
Apply low heat and lead gradually melting...
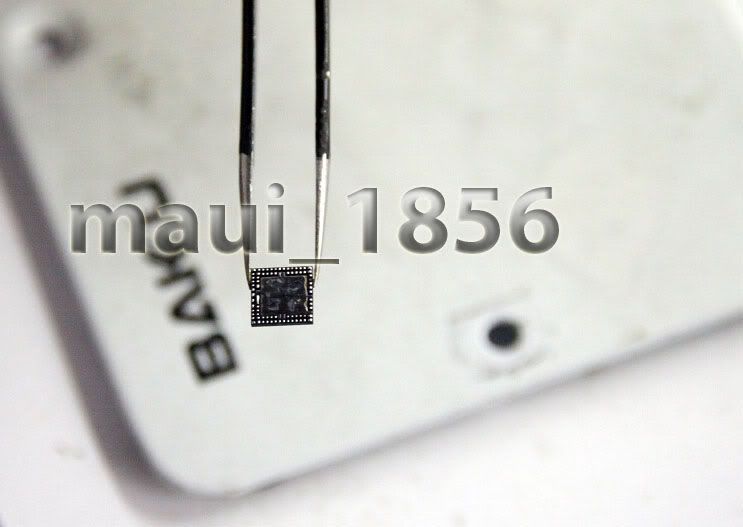
After reballs from plate must reheat IC for even and fine lead settling...
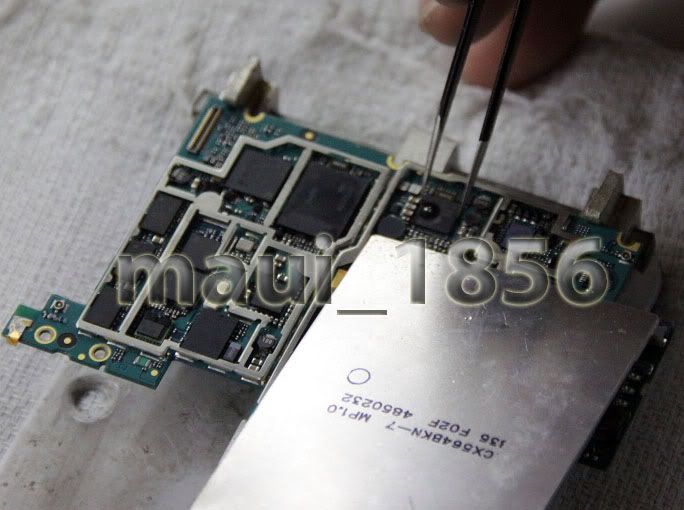
Mounting to MB, heat must controled to prevent IC/MB spoiled...
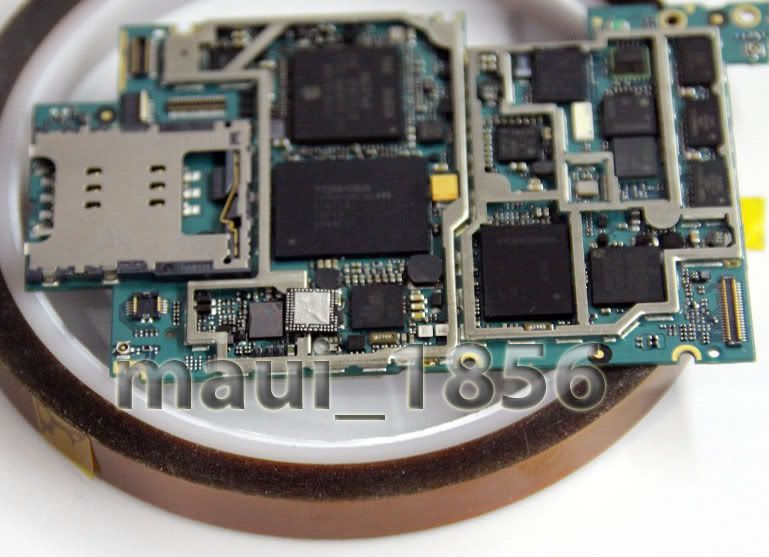
Here's new IC mounted perfectly and beside is the shorted IC...
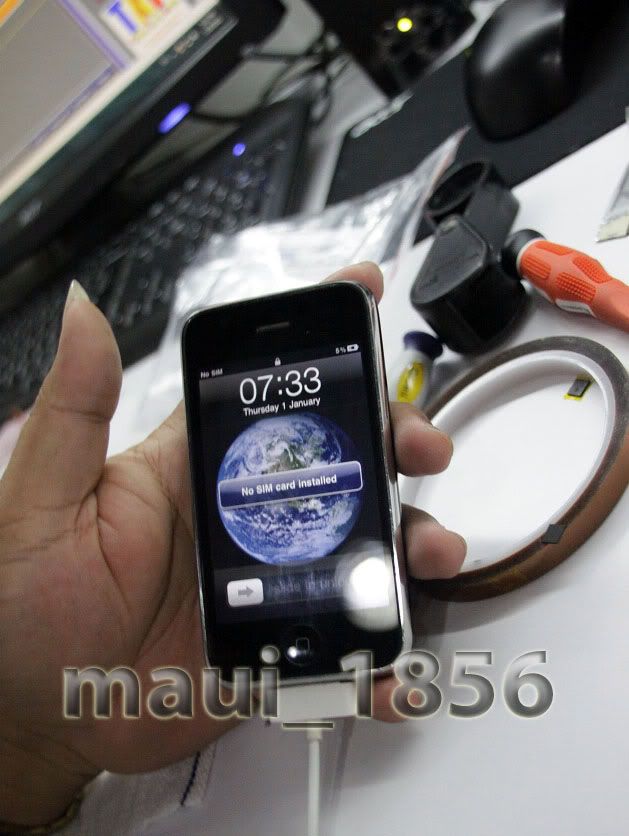
After assemble and plug in charge... It works but still lowbatt... (noticed at photo only 5 percent batt charged and the DATE when phone was dead)
Case:
iPhone 3gs fast drained batt and getting hot if it charge...
Cause:
Mainboard shorted
Solution:
Change Power Management IC...
Here's the way how to replace IC:
| This image has been resized. Click this bar to view the full image. The original image is sized 785x537. |
Preparing for reballing leads... I'm using heat resistant tape way of resoldering...
| This image has been resized. Click this bar to view the full image. The original image is sized 745x542. |
Mounting on solder plate...
| This image has been resized. Click this bar to view the full image. The original image is sized 783x521. |
Put solder paste (lead)...
| This image has been resized. Click this bar to view the full image. The original image is sized 777x529. |
Make sure lead paste must evenly distributed to holes...
| This image has been resized. Click this bar to view the full image. The original image is sized 744x490. |
Apply low heat and lead gradually melting...
| This image has been resized. Click this bar to view the full image. The original image is sized 743x527. |
After reballs from plate must reheat IC for even and fine lead settling...
Mounting to MB, heat must controled to prevent IC/MB spoiled...
| This image has been resized. Click this bar to view the full image. The original image is sized 769x557. |
Here's new IC mounted perfectly and beside is the shorted IC...
After assemble and plug in charge... It works but still lowbatt... (noticed at photo only 5 percent batt charged and the DATE when phone was dead)
Semoga artikel iPhone 3gs Power I.C. replacement (Process How To...) bermanfaat bagi Anda.


